
 | Hardvance")
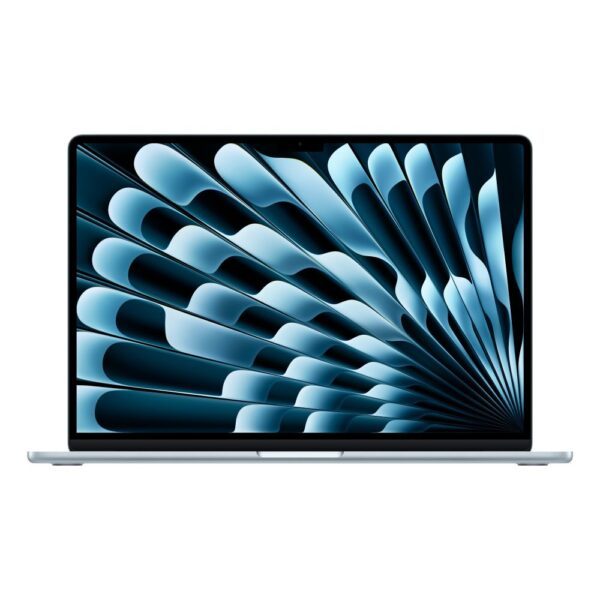

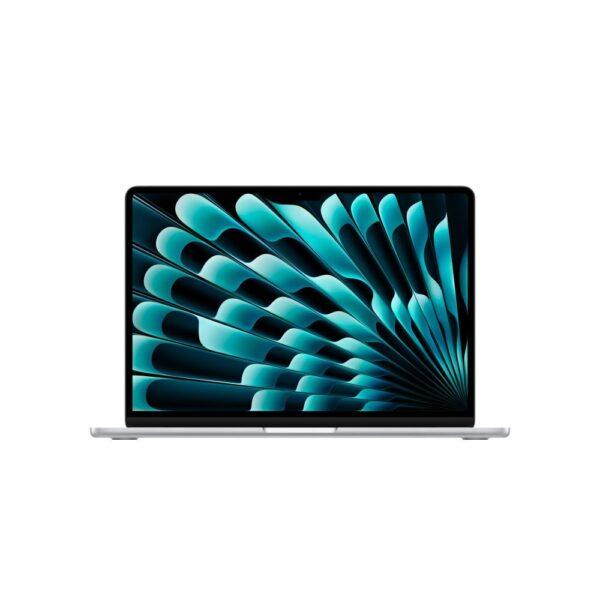
Apple MacBook Air M5, 13.6″, 16GB RAM, 512GB SSD, Wi-Fi 7, macOS, Tahoe Blue
In stock
£1,111.49 inc VAT


Related posts
How to Copy and Paste on a Mac (2026)
Copy and paste on a Mac works much like any computer once you know that the Command (Cmd) key does the job, no...

How to Take a Screenshot on a Mac (2026)
Taking a screenshot on a Mac is quick once you know the keys, and macOS gives you several ways to do it, from ...
Which MacBook Should You Buy in 2026? Air, Pro and the New MacBook Neo
Buying a MacBook in 2026 is more interesting than it has been for years. Apple's line-up now runs from a brand...

How to Copy and Paste on a Chromebook (2026)
Copy and paste on a Chromebook works just like any other laptop once you know the keys, and there are a few ex...

What Is a Chromebook, and Is It Worth It in 2026?
Chromebooks are everywhere now: in classrooms, on kitchen tables and in the bags of people who just want a lap...
RAM and SSD Prices in 2026: Should You Buy Now or Wait?
If you have priced up a memory kit or an SSD lately, you already know something is wrong. Prices that sat stea...
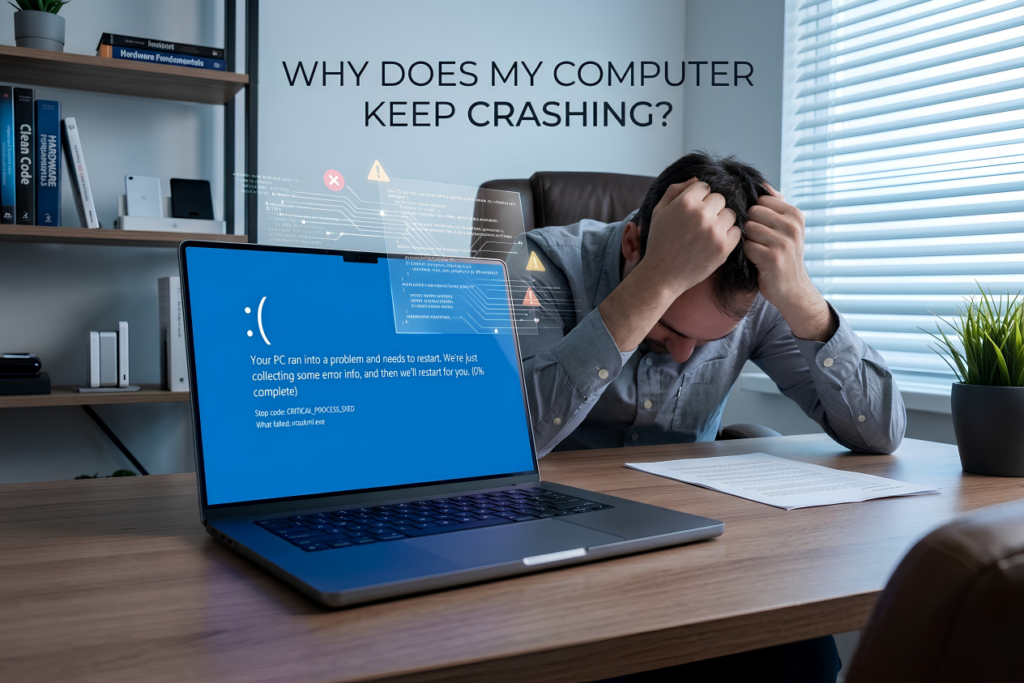
Why Does My PC Crash, Freeze or Restart While Gaming? The Complete 2026 Fix Guide
Every reason a PC crashes, freezes or restarts while gaming, with how to confirm and fix each one: weak PSU, overheating, XMP/EXPO RAM, GPU drivers, Intel 13/14th-gen and more.
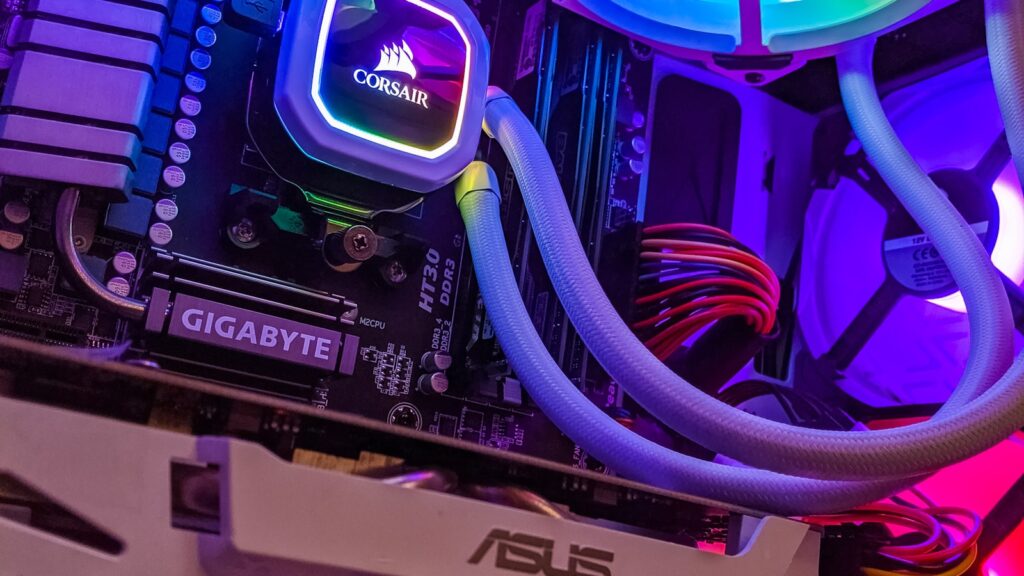
CPU Cooling in 2026: Air vs AIO, X3D Temperatures and the Tricks Most People Miss
The real CPU cooling answers for 2026: air vs AIO, why 95C on Ryzen is normal, whether the 9800X3D needs an AIO, contact frames, PTM7950, AIO mounting and more.

GTA 6 Pre-Orders Open 25 June: Release Date, Price and PC Latest
GTA 6 pre-orders open 25 June 2026, with a 19 November 2026 launch on PS5 and Xbox. The confirmed date, expected price, cover art, and the latest on a PC version.
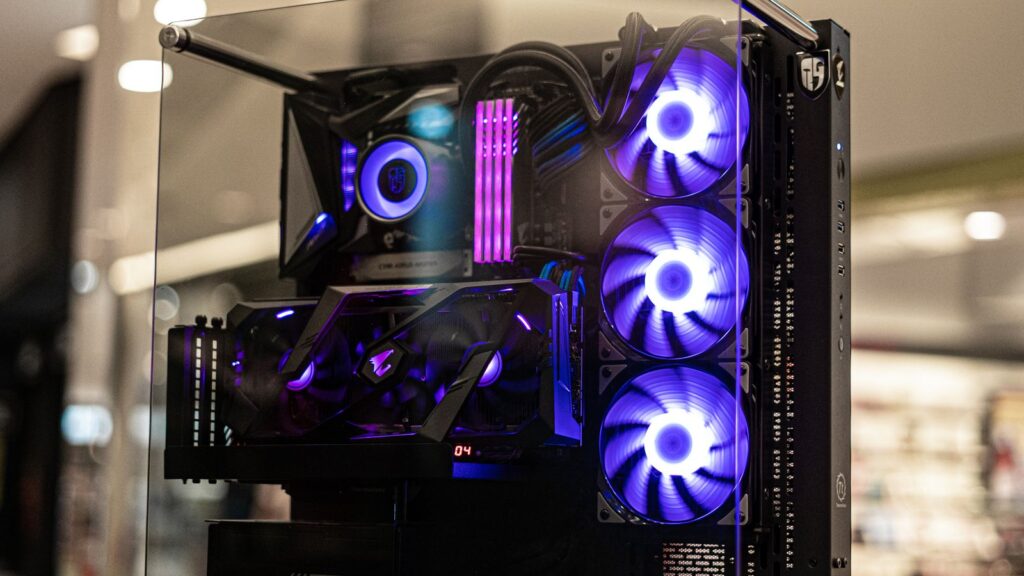
Best PC Case in 2026: Airflow vs Looks, and Do Fishtank Cases Really Run Hot?
Few PC topics start more arguments than cases. Should you buy a mesh-fronted airflow case or a slick glass sho...
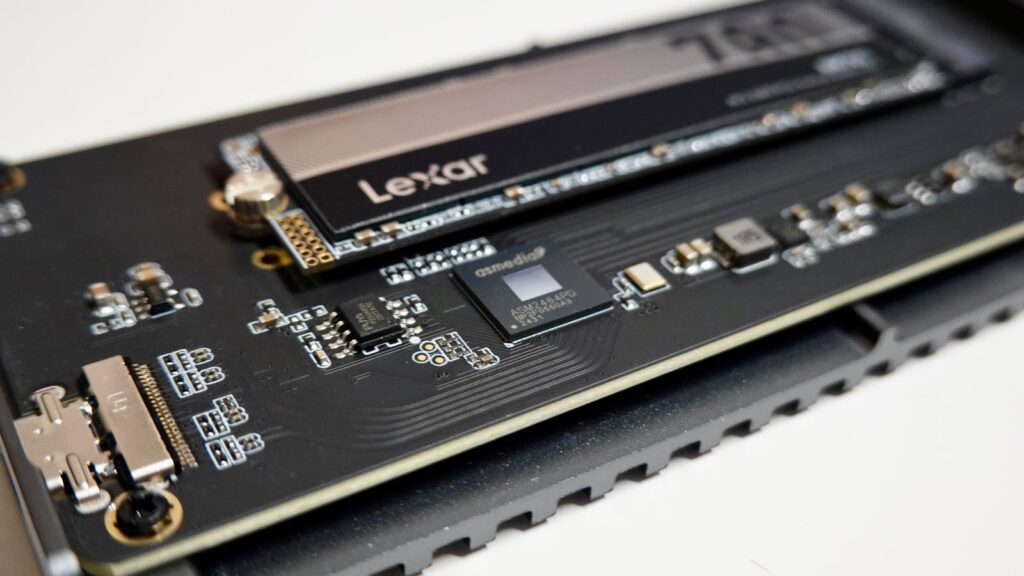
Best SSD for Gaming in 2026: Is PCIe 5.0 Worth It, or Is Gen4 the Sweet Spot?
PCIe 5.0 SSDs promise huge numbers on the box, and that has left a lot of people asking the same thing on Redd...

How to Choose PC Components in 2026: The Complete Build Guide
Building or upgrading a PC in 2026 comes down to a series of linked decisions. Choose the right parts and they...